Kia Picanto (JA): Hood / Hood Assembly
Components and components location
| Component Location |
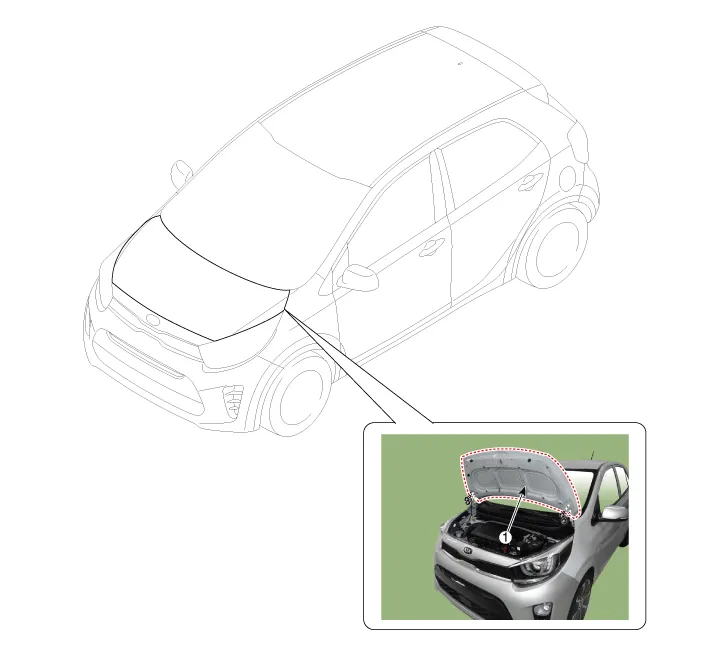
| 1. Hood assembly |
Repair procedures
| Replacement |
Be careful not to damage the hood and body. |

|

| 1. | Remove the hood assembly (A) after loosening the hood hinge mounting bolts.
|
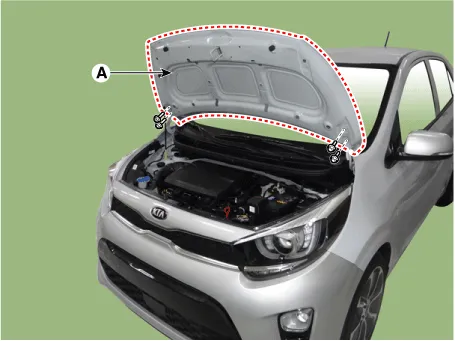
| 2. | Install in the reverse order of removal.
|
Repair procedures Adjustment 1. After loosening the hinge (A) mounting bolts, adjust the hood (B) by moving it up and down, or right and left. 2.
Repair procedures Replacement 1. Remove the hood weatherstrip (A). Be careful not to damage the hood and body. 2. Install in the reverse order of removal.
Other information:
Kia Picanto (JA) 2017-2026 Service & Repair Manual: Front Washer Motor
Repair procedures Inspection Front Washer Motor 1.With the washer motor connected to the reservoir tank, fill the reservoir tank with water. • Before filling the reservoir tank with water, check the filter for foreign material or contamination.
Kia Picanto (JA) 2017-2026 Service & Repair Manual: Mode Control Actuator
Components and components location Component Location 1. Mode Control Actuator Description and operation Description The mode control actuator is located at the heater unit. It adjusts position of mode door by operating mode control actuator based on signal of A/C control unit.
Categories
- Manuals Home
- Kia Picanto Owners Manual
- Kia Picanto Service Manual
- Engine Oil and Filter
- Fuel Delivery System
- Front Disc Brake
- New on site
- Most important about car
