Kia Picanto (JA): Tires/Wheels / Wheel
Repair procedures
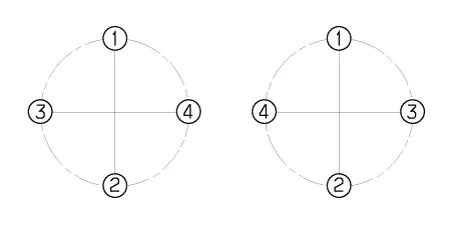
| Hub nut tightening sequence |
Tightening torque:
107.9 - 127.5 N·m (11.0 - 13.0 kgf·m, 79.6 - 94.0 lb·ft) |

When using an impact gun, final tightening torque should be checked using a torque wrench. |

| 1. | Jack up the vehicle. |
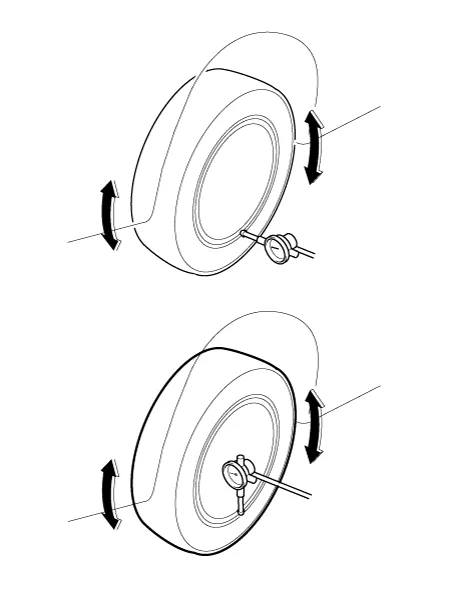
| 2. | Measure the wheel run-out by using a dial indicator as illustration below.
|
| 3. | If measured value exceeds the standard value, replace the wheel.
|
Repair procedures Tire Wear • Using tires and wheels other than the recommended sizes can cause unusual handling characteristics and poor vehicle control, resulting in a serious accident.
Repair procedures Front wheel alignment When using a commercially available computerized wheel alignment equipment to inspect the front wheel alignment, always position the vehicle on a level surface with the front wheels facing straight ahead.
Other information:
Kia Picanto (JA) 2017-2026 Service & Repair Manual: Headlamp Leveling Actuator
Components and components location Components Repair procedures Removal 1.Disconnect the negative (-) battery terminal. 2.Remove the headlamp assembly. (Refer to Lighting System - "Headlamps") Installation 1.Install the headlamp assembly.
Kia Picanto (JA) 2017-2026 Service & Repair Manual: Headlamps
Description and operation Description BI-FUNCTION 1. Definition – A headlamp with integrated functions of high and low beam – The light is controlled by rotating the shield inserted to the lens.
Categories
- Manuals Home
- Kia Picanto Owners Manual
- Kia Picanto Service Manual
- Normal Condition
- Heating,Ventilation, Air Conditioning
- Charging System
- New on site
- Most important about car
