Kia Picanto (JA): Brake/Clutch fluid / Checking the brake/clutch fluid level
Check the fluid level in the reservoir periodically. The fluid level should be between MAX and MIN marks on the side of the reservoir.
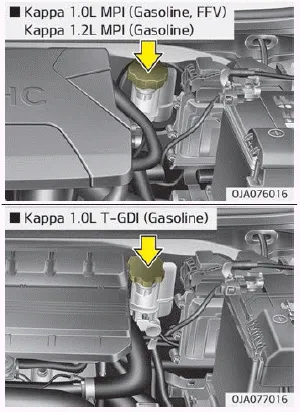
Before removing the reservoir cap and adding brake/clutch fluid, clean the area around the reservoir cap thoroughly to prevent brake/clutch fluid contamination.
If the level is low, add fluid to the MAX level. The level will fall with accumulated mileage. This is a normal condition associated with the wear of the brake linings.
If the fluid level is excessively low, have the system checked by a professional workshop. Kia recommends to visit an authorized Kia dealer/service partner.
Use only the specified brake fluid. (Refer to “Recommended lubricants or capacities” on page 9-11.)
Never mix different types of fluid.
WARNING
Loss of brake/clutch fluid
In the event the brake/clutch system requires frequent additions of fluid, have the system Inspected by a professional workshop. Kia recommends to visit an authorized Kia dealer/ service partner.
WARNING
Brake / clutch fluid
When changing and adding brake/ clutch fluid, handle it carefully. Do not let it come in contact with your eyes. If brake/clutch fluid should come in contact with your eyes, immediately flush them with a large quantity of fresh tap water. Have your eyes examined by a doctor as soon as possible.
CAUTION
Do not allow brake/clutch fluid to contact the vehicle's body paint, as paint damage will result. Brake/ clutch fluid, which has been exposed to open air for an extended time should never be used as its quality cannot be guaranteed. It should be properly disposed. Don't put in the wrong kind of fluid. A few drops of mineral-based oil, such as engine oil, in your brake/clutch system can damage brake/clutch system parts.
Checking the automatic transaxle fluid level The automatic transaxle fluid level should be checked regularly. Keep the vehicle on level ground with the parking brake applied and check the fluid level according to the following procedure.
Other information:
Kia Picanto (JA) 2017-2026 Service & Repair Manual: Emergency Call (eCall) Unit
Components and components location Component The eCall unit for AVN is equipped in AVN head unit. Repair procedures Removal Carry out the Test Mode in the following cases.– Replacing the eCall unit– Replacing the Bac
Kia Picanto (JA) 2017-2026 Service & Repair Manual: Rear Combination Lamp
Repair procedures Removal 1.Disconnect the negative (-) battery terminal. 2.Remove the rear combination lamp (A) after loosening the screws. 3.Remove the rear combination lamp packing (A). 4.Disconnect the rear combination lamp connector (A).
Categories
- Manuals Home
- Kia Picanto Owners Manual
- Kia Picanto Service Manual
- Automatic Transaxle Fluid
- Engine Control / Fuel System
- Thermostat
- New on site
- Most important about car
