Kia Picanto: AVN System / Multimedia Jack
Kia Picanto JA 2017-2025 Service & Repair Manual / Body Electrical System / AVN System / Multimedia Jack
Schematic diagrams
| Circuit Diagram |
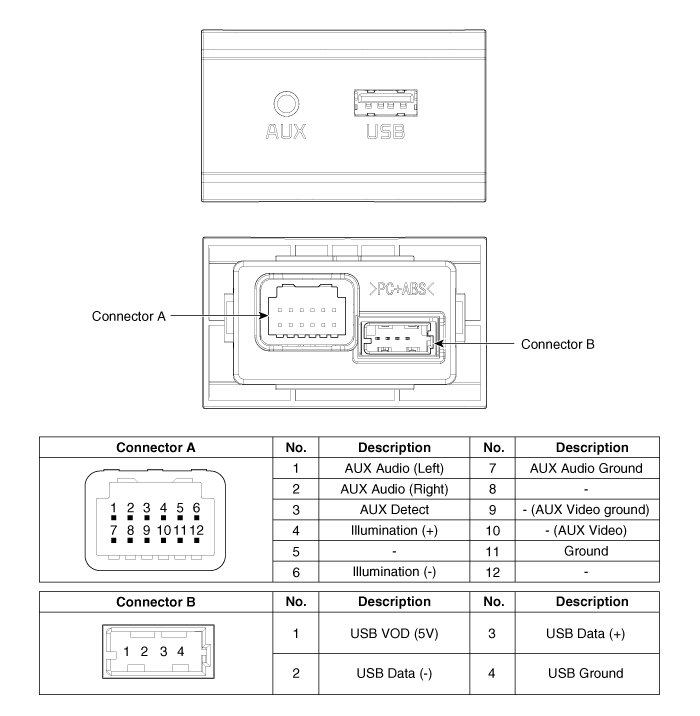
Description and operation
| Description |
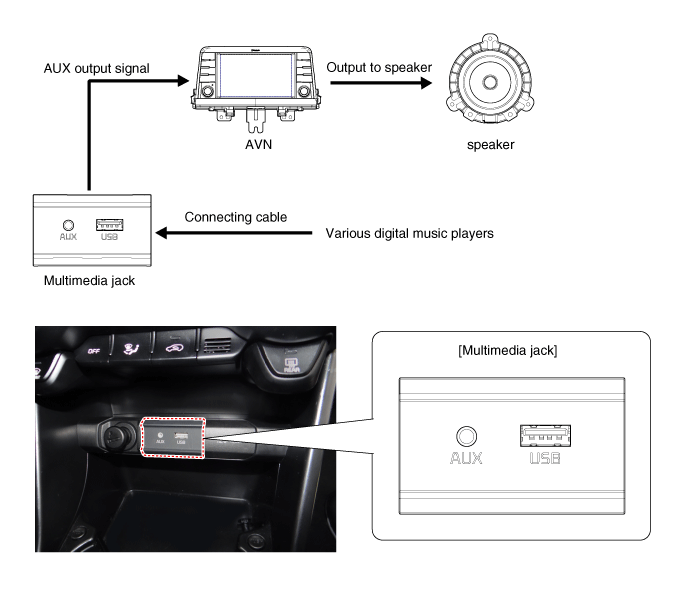
The
multimedia jack on the console upper cover is for customers who like to
listen to external portable music players like the MP3 etc., through
the vehicle's sound system when it is linked to this jack. The customer
has this added option.
In
case of distorted sound coming from the AUX-linked external music
players, the audio unit may not be defective but the output level of the
player does not match the specification of the AUX.
Repair procedures
| Removal |
Put on gloves to protect your hands. |
|
| 1. | Disconnect the negative (-) battery terminal. |
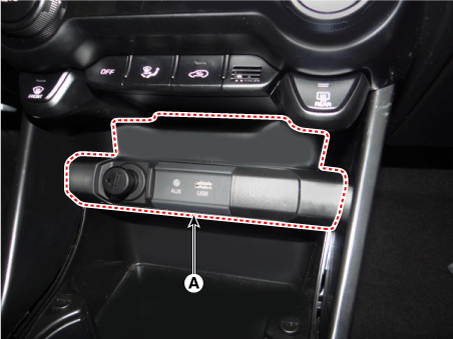
| 2. | Using a screwdriver or remover, remove the floor console front bezel (A).
|
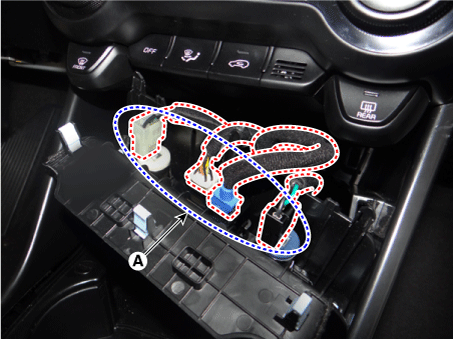
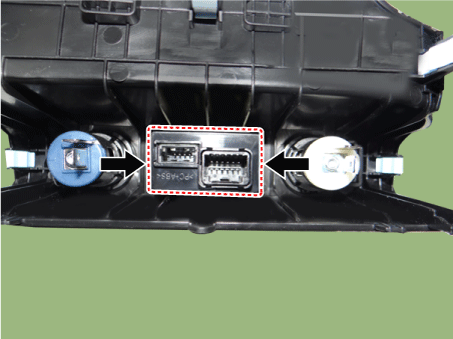
| 3. | Disconnect the connectors (A) from floor console front bezel.
|
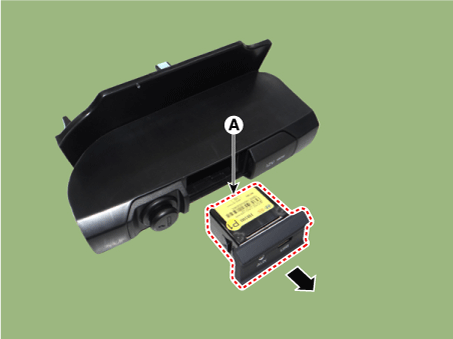
| 4. | Remove the multimedia jack (A) after releasing the fixed hooks.
|
| Installation |
| 1. | Install the multimedia jack. |
| 2. | Connect the connectors from the floor console front bezel. |
| 3. | Install the floor console front bezel. |
| 4. | Connect the negative (-) battery terminal.
|
 AVN Remote Controller
Components and components location
Components
1. Left Remote Control Switch (Audio + Hands free + Voice) 2. Right Remote Control Switch (Cruise+Trip Computer)
Schematic diagrams
...
 Mic
Mic
Repair procedures
Inspection
1.Disconnect the negative (-) battery terminal.
2.Remove the roof trim assembly.
(Refer to Body - "Roof Trim Assembly")
3.Remove the hands free m ...
Other information:
Kia Picanto JA 2017-2025 Service & Repair Manual: Front Axle Assembly
Components and components location Components 1. Snap ring 2. Bearing 3. Axle assembly 4. Brake disc dust cover 5. Wheel hub assembly 6. Wheel brake disc 7. Brake disc fixing screw 8. Wheel / Tire 9. Wheel nut Repair procedures Removal 1. Remove the front/rear wheel tire (A ...
Kia Picanto JA 2017-2025 Owner's Manual: Sunroof
If your vehicle is equipped with a sunroof, you can slide or tilt your sunroof with the sunroof control lever located on the overhead console. The sunroof can only be opened, closed, or tilted when the ignition switch is in the ON position or Engine Star/Stop button is in ON position. ...
Copyright © www.kpicanto.com 2017-2025


