
Kia Picanto (JA): Front Suspension System / Sub Frame
Repair procedures
| Removal |
| 1. | Remove the universal joint bolt (A).
|


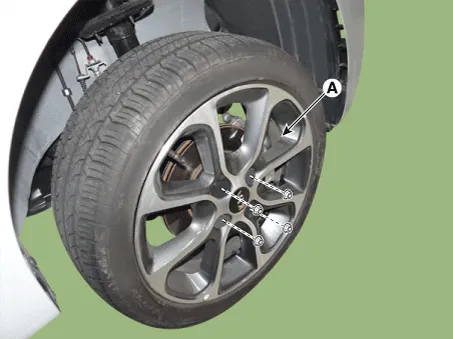
| 2. | Remove the front wheel tire (A).
|
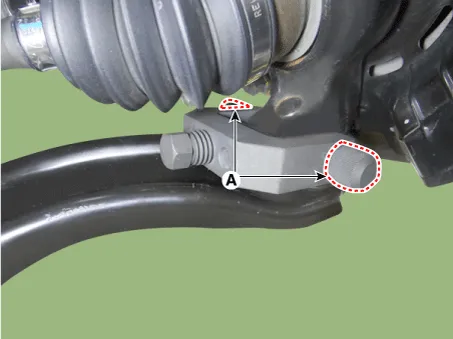
| 3. | Remove the lower arm bolt and nut.
|

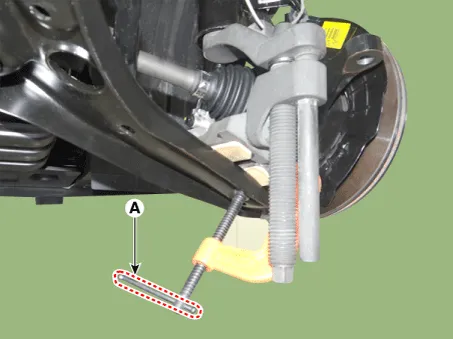
| 4. | Remove the front lower arm from the front knuckle using the SST (0K545-A9100).
|

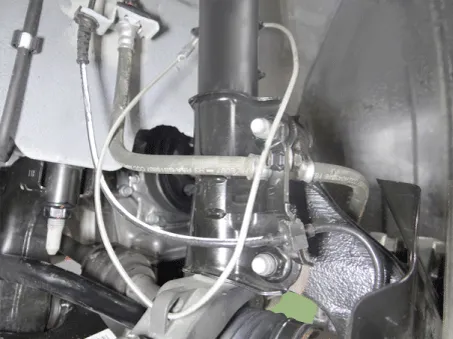

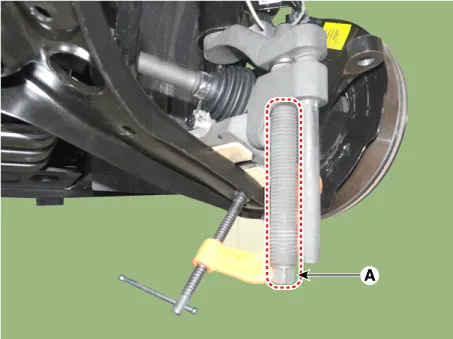
| 5. | Remove the pin and nut from the tie rod end ball joint.
|
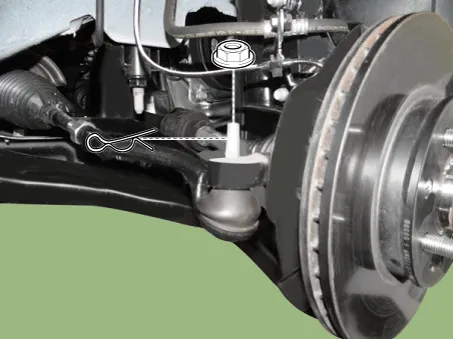
| 6. | Remove the tie rod end ball joint from the knuckle by using the SST (09568-1S100).
|
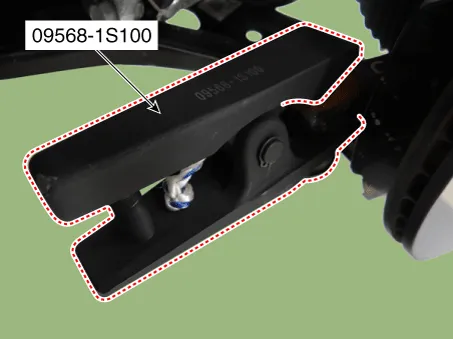
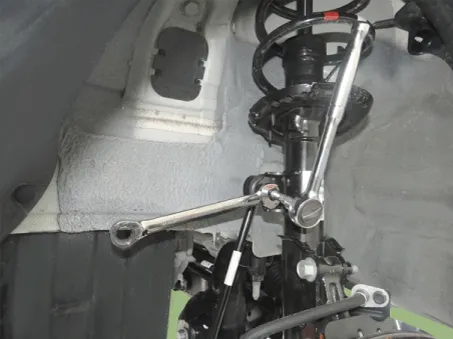
| 7. | Remove the stabilizer link nut.
|
| 8. | Remove the roll rod bracket.
G 1.0 MPI (Refer to Engine Mechanical System - "Engine Mounting")
G 1.2 MPI (Refer to Engine Mechanical System - "Engine Mounting")
|
| 9. | Remove the muffler hanger.
|

| 10. | Loosen the bolts & nuts and then remove the sub frame (A).
|

| 11. | Remove the gear box heat protector.
|

| 12. | Loosen the gear box mounting bolts and then remove the gear box.
|

| 13. | Loosen the bolts and then remove the stabilizer bar assembly.
|
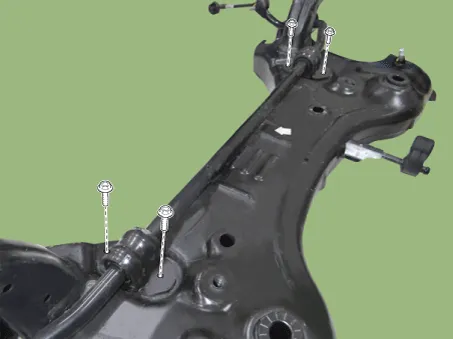
| 14. | Install in the reverse order of removal. |
| 15. | Check the wheel alignment.
(Refer to Tires/Wheels - "Alignment")
|
Repair procedures Removal 1.Remove the universal joint bolt (A). Tightening torque : 32.4 - 37.3 N·m (3.3 - 3.8 kgf·m, 23.9 - 27.
Components and components location Components [Disc type] 1. Torsion beam 2. Brake disc 3. Brake caliper [Drum type] 1. Torsion beam axle 2.
Other information:
Kia Picanto (JA) 2017-2026 Service & Repair Manual: Rear Glass Defogger Printed Heater
Repair procedures Inspection • Wrap tin foil around the end of the voltmeter test lead to prevent damaging the heater line. Apply pressure on the tin foil with hand and move the tin foil along the grid line to check for open circuits.
Kia Picanto (JA) 2017-2026 Service & Repair Manual: Climate Control Air Filtar
Description and operation Description This has particle filter which eliminates foreign materials and odor. The particle filter includes odor filter as well as conventional dust filter to ensure comfortable interior environment. Repair procedures Replacement 1.
Categories
- Manuals Home
- Kia Picanto Owners Manual
- Kia Picanto Service Manual
- Charging System
- Brake System
- Engine Mechanical System
- New on site
- Most important about car
