
Kia Picanto (JA): Fuel Delivery System / Fuel Pump Motor
Repair procedures
| Removal |
| 1. | Remove the fuel pump.
(Refer to Fuel Delivery System - "Fuel Pump")
|
| 2. | Disconnect the fuel pump motor connector (A) and fuel sender connector (B).
|
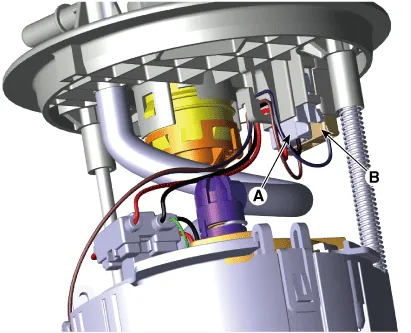
| 3. | Disconnect the fuel feed tube quick-connector (A) after removing the fixing clip (B).
|
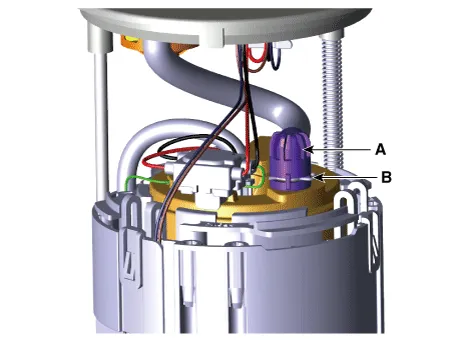
| 4. | Remove the cushion pipe fixing clip (A), and then separate the head assembly (B) from reservoir cup.
|
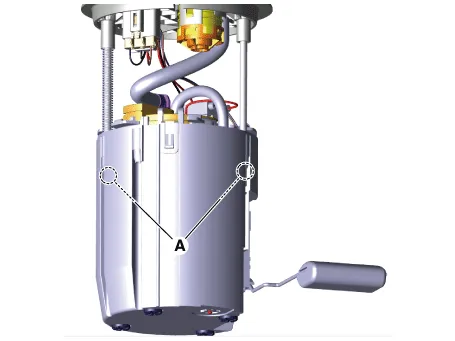
| 5. | Press the fixing hook (A) with a driver and then remove fuel sender in the arrow direction.
|
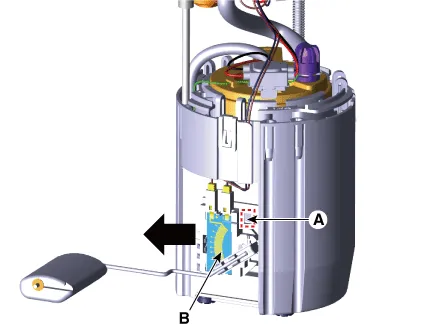
| 6. | Remove the reservoir-cup (B) after releasing the fixing hooks (A).
|
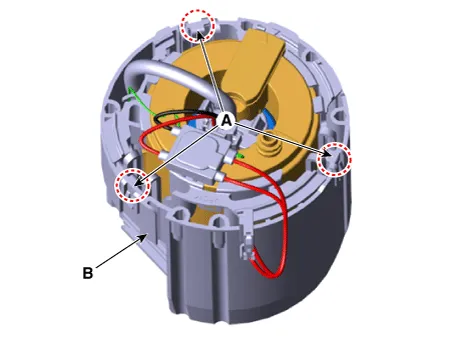
| 7. | Disconnect the ground pin (A).
|
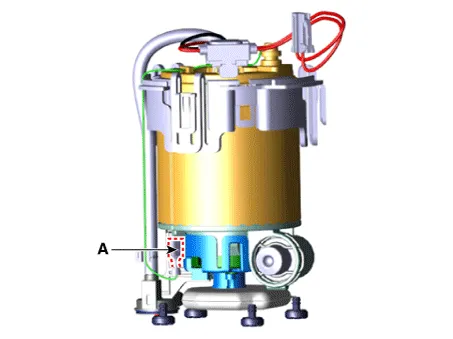
| 8. | Remove the fixing clip (A), and then assist pump assembly (B).
|

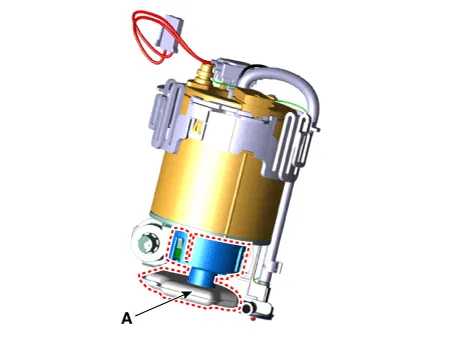
| 9. | Remove the free-filter (A) after releasing the fixing hooks.
|
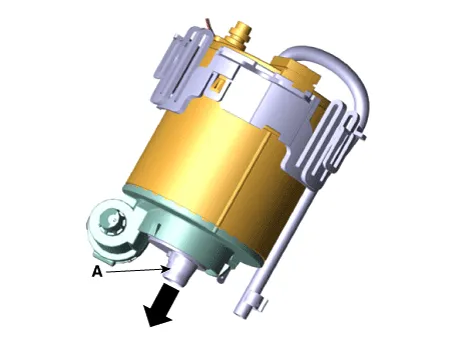
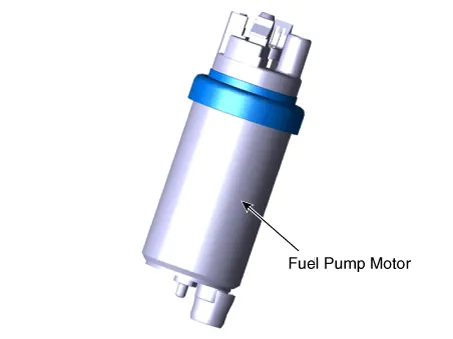
| 10. | Separate the electric pump motor (A).
|
Repair procedures Removal 1.Remove the fuel pump. (Refer to Fuel Delivery System - "Fuel Pump") 2.Disconnect the fuel sender connector (A).
Repair procedures Removal 1.Remove the fuel pump. (Refer to Fuel Delivery System - "Fuel Pump") 2.Disconnect the fuel pump motor connector (A) and fuel sender connector (B).
Other information:
Kia Picanto (JA) 2017-2026 Service & Repair Manual: AVN Remote Controller
Components and components location Components 1. Left Remote Control Switch (Audio + Hands free + Voice) 2. Right Remote Control Switch (Cruise+Trip Computer) Schematic diagrams Circuit Diagram [Audio] [Audio + Bluetooth] [Audio + Bluetooth + Voice] [Trip (2 Button) + SEG LCD Cluster]
Kia Picanto (JA) 2017-2026 Service & Repair Manual: Emergency Call (eCall) Button
Components and components location Component Repair procedures Removal 1. Disconnect the negative (-) battery terminal. 2. Using a screwdriver or remover, separate the map lamp lens (A) from the map lamp. 3. Remove the map lamp (A) after loosening the screws.
Categories
- Manuals Home
- Kia Picanto Owners Manual
- Kia Picanto Service Manual
- Clutch Cable
- Heating,Ventilation, Air Conditioning
- Suspension System
- New on site
- Most important about car
